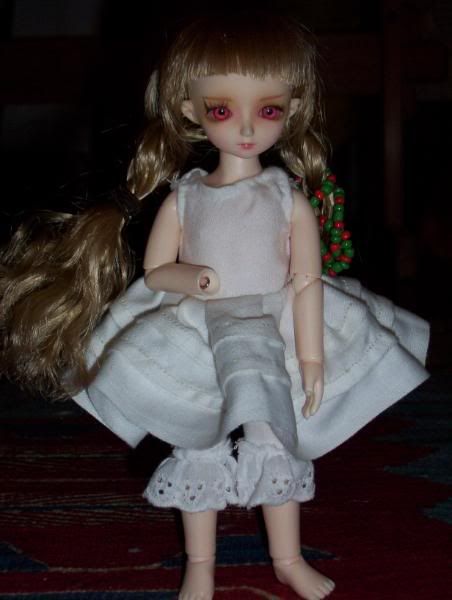
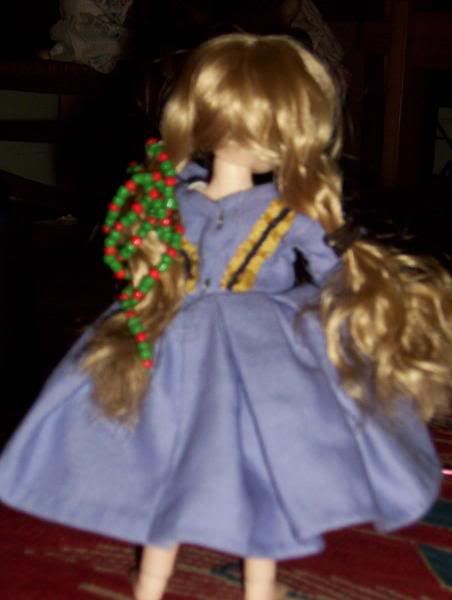
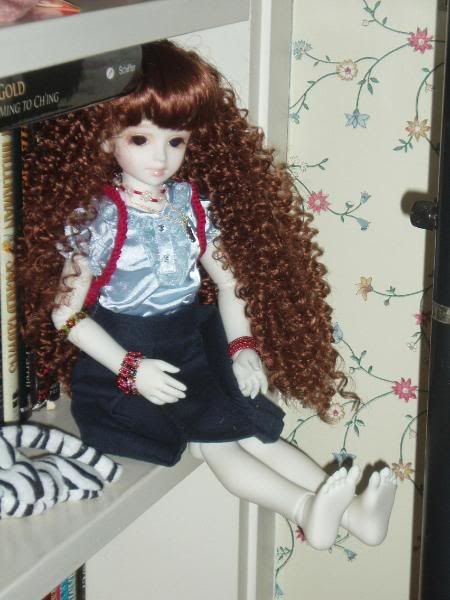
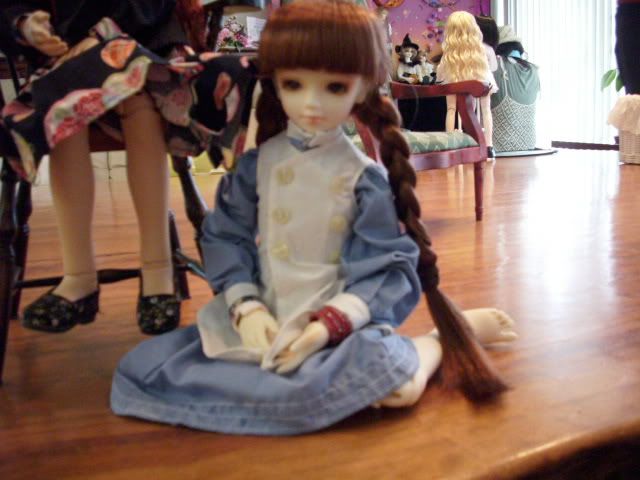
Here is a sample of some less elaborate things I make for my girls. Some of these pieces I even finished in a timely fashion!
The skirt Mariko is wearing was my first attempt at making the spiral ribbed skirt for Calla and Nurit. I made some error in the instructions, as the waist ended up much too small for the bigger girls. Up top she is wearing the Sleeves a Go Go (second pattern from the top) pattern made for Blythe that looks good on her.
Nurit has a blouse made from a 1930s Bleuette pattern. The ruffle really makes the shirt, doesn't it? The skirt is from a scrap of cloth I had since grade school. There wasn't much of it left, but with careful cutting it made a respectable skirt.
Calla's dress was one of the first three dresses I made for Yu Wei, before she arrived. I was going through some of Yu Wei and Yu Lian's older things and decided that I wasn't thrilled with the construction of the dress. Calla was fairly new to my group at the time, so I concluded that it would be best to cut down the bodice and turn it it into a summery tiny dress.
The shirt she has on over the dress was made during a time I worried that she and Nurit has more skirts than tops. Few bjds wear shortgowns which are really simple to made and was something I could take with me where ever. I got horribly distracted (again,) so it took me a while to finish the pleats, but this top has served us well.
Saturday, March 31, 2012
Casual Trio
Labels:
Bambicrony,
Calla,
Cherish doll,
Knit,
Mariko,
Nurit,
tinies,
Volks
Nurit's Skivvies
Nurit is almost, but not quite, Calla's size. This is not enough for me to justify making clothes that fit only her, but Yo sized things might end up swimming on her. My solution was to make her bulky underwear, courtesy of The Bleu Door.
I'm not showing layer one in all its glory as I'm a bit embarrassed about it. It's an undershirt and shorts joined into one that I thought I adapted to her size, but it was too short, making the shoulder straps dig into her joints, forcing her arms out of its sockets. I put up with it for a while, but I ended up taking it apart and letting out the shoulder and crotch seams. It fits her now, but the straps look longer than I'd like.
Here's the original embroidered leaf I did for it:
Some time later, saw a simple slip pattern with adorable embroidery and I came to the conclusion that the dresses and such were still a bit too big, and she could do with another layer. While I was at it, I would decorate the first layer to be prettier and coordinate with the slip:
Sunday, March 25, 2012
Fake Fur Fun
Despite my many distractions, I'm still forging ahead with my Renaissance projects. A recent diversion was this pretty little link. Courtesy of Jen Thompson, I heard of these furs before, and know I wanted to try my hand at making one of the more ornate versions for myself. Cue a trip to the store where I spent too much on pretty gold beads and Sculpy, several tizzies looking for portraits featuring zibellinos for research and accuracy purposes, and fun with crochet.
Crocheting the critter was easy and relaxing, except when I had to pull out rows. Eyelash yarn likes to tangle with itself. Despite careful yet haphazard measuring, I was not pleased with the size of the first critter. I wanted something my girl could hold in her arm, and I created a lap blanket. As I still had enough yarn left, I made a smaller one. I also got some gold Sculpy. Initially I wanted to make a pretty white head and paw beads like in the first link, but the clay picked up a frightful amount of black lint.
Both heads started as triangles of foil covered in clay with features sculpted in. The eyes were pressed in with the help of a bead, and I embedded jump rings into the bottoms so I could later attach them to the zibellinos. the patterns on the paw beads were initially going to be historically accurate, but after a bad tizzy I decided it was simpler just to use my own design. These also have jump rings in the bottom. More beads were added on as claws, and the whole thing was fastened on to a new belt.
While it's not perfect, I'm fairly pleased with how it turned out.
Here Kozu models her pelt, in a purchased outfit that makes the gold of the piece stand out all the more.
Black and White Regency
Way back when, I made Linnea a classical plain white regency dress out of white gauze. Some time after I took a look at it, decided that I wasn't interested in that dress anymore, so I took it apart.

I had it in my head to make more pretty high waisted outfits, but with a bit more historical accuracy. To make the dress hang right, I would make a petticoat. The dress in question would be a wrap front day gown to be topped shawls, spencers, fichus and caps. The petticoat was cut down from Linnea's old dress and given a bit of trim just for fun. The dress was also lightly trimmed, as I didn't think it needed much.
I had good fun embroidering the fichu, which was simple chain stitch and French knots. The shawls I made were long rectangles with fringe (though I made up the patterns off the top of my head rather than research them.) The cap pattern and trim line I took from the Regency Fashion Page. I have no pictures of the spencer, as it was a tough too small to fit over the dress, though it does well over sleeveless tops.


Labels:
60 cm,
Anthea,
Doll in Mind,
Dream of Doll,
Linnea,
MSD,
Regency
Tuesday, March 6, 2012
And Now for Something a Little Different
Even thought it has a bad name and reputation, I still have a soft spot for lolita clothing. What really draws me to it is the levels of creativity involved. The designs and coordinating can be really amazing, but the snobbery and infighting amongst English speaking lolitas can be headache inducing. When discussing the style with people not familiar with the aesthetic, I refer to it as "fluffy."
Back in the summer of my junior year in undergrad, I bought an adorable white fabric printed with red bows. I don't remember when, but I wanted to make a lolita outfit in a shalwar kameez style. Me being me, it was rather a long time before I got around to it.
The top is an A line knee length dress with a square neckline and pin tucks along the sleeves and hem. The bottoms are drawstring and also pin tucked. Finishing the outfit is some lace trim and wider lace serving as the dupatta that I dyed to stand out better from the fabric. Even though I made some silly mistakes with it, (such as some wrong sides showing,) I'm rather pleased with it. It now resides as part of Lilja's wardrobe.


The Red Camellia Blooms
As with every Dolpa, there are one-offs on display. In the Dolpa where I ordered Frederica, there were twelve for us to drool over, and I took pictures of my favorites, for that way I can admire them whenever I please and not worry about winning the lottery.


That said, in this Dolpa there was something a little different in that instead of one slip per guest for all of the one-offs, guests could put in a slip for as many of the one-off dolls as they were so inclined. If a person one for one doll, they would no longer be eligible to win another. I eyed my favorites, placed the slips in each box, and realized that I but one slip in the wrong box. I was pleased that I could explain the situation to the staff in Japanese, and things were quickly rectified.
Towards the end of the party, boxes of slips for the one-off were brought up front, and the drawing began. I did not realized that my name was called, but fortunately my mom was faster on the uptake. It turned out that I won the SD Shinku sculpt, and I took her home with me that very night. First things first, I had to give her a name. I wanted the name to reference her sculpt (shinku means "crimson",) and fit with my other girls. After a lot of thought, I decided on "Kouzubaki," or "red camellia." It's a bit of a mouthful, so I call her Kozu for short.
It wasn't long before I realized that while she can fit in a lot of Linnea's things, there are plenty that are too small for her, specifically the waist. For the most part I don't fuss over this, as she is in little danger of a limited wardrobe. I have several outfits in the works for her, but the only one right now that is done, and will be saved for a later post.
Saturday, March 3, 2012
Mariko's Old Fashioned Dress.
After spending a little too much time on this lovely woman's website, I got it into my head to make a mid Victorian outfit for Mariko.* According to my research, the shoulders should be dropped, the skirt full, the petticoat stiff, and the drawers should peek out from the bottom. aside from that, there were several bodice and sleeve designs to choose from. I chose a plain ungathered bodice with a jewel neckline and full bishop sleeves (and later worked myself into a near panic after the dress was done as I could not find evidence of bishop sleeves on children. Sigh.)
First, I made the underdress. I draped the bodice on Mariko, stitched it up (hemming shoulders is so annoying on this scale,) cut out the skirt, added the pintucks for stiffness, and sewed the drawers to the entire thing to reduce bulk at the waist.
The bodice for the dress I took from the 1860's bodice from Patterns of Fashion volume 1, which was almost exactly Mariko's size. For decoration, I took inspiration from the girl on the far right. The trim was made with chain crochet stitched on top of some ribbon I had lying around. It later occurred to me that the cuffs might have been better off in plain white rather then echoing the trim, but I had no desire to take apart the entire thing for a little detail like that.
The only major hiccup is that her right hand could not fit through the armscythe. I had to take off her hand and add an S-hook so that it can be easily removed when she goes in and out of it.
What do you think?
*Actually, I made two dresses, but the second one is very plain, so I have few photos of it.
Serious Face
Like many people, I like Volks' F-06 mold. I've also had my eye on various tanned dolls over the years, so at the last NYC Dolpa, when I heard that Sunlight would be available, I knew what I must do.
Much of her look was pulled from a character I created I wanted to put into a doll but never did. Hence the brown skin, longer legs, and slightly more mature body (you can hardly tell when they're dressed, but that's an aside.) The serious expression and red brown coloring also came from that other concept.
An important distinction though was that I wanted to make her Lilja's older sister, so I ordered a wig and eyes in colors similar to little sister. She is named after two characters from the game Higurashi no Naku Koro ni. Her full name is Frederica, after the character Frederica Bernkastel, and her nickname is Rica, after Furude Rika. This doll's big desire is to be though of as an adult, which frequently reflects in her clothes and manner.
Bleuette and white
This outfit is one of my personal favorites. It's inspired by young Jennifer's clothes from Rule of Rose (scroll down.) At the time, I didn't know where to find a screen cap of said clothes, but I didn't worry over it as I just wanted something along those lines.
The shirt was adapted from Undead threads, and the jumper pattern came from The Bleu Door. Instead of copying the embroidery, I freehanded the flower images. For the edging, I used the buttonhole stitch, and the flowers were done with stem, lazy daisy, and French knots. Except for the ribbon, everything came from my stash.
Doesn't Calla look sweet?
Thursday, March 1, 2012
The Transformation
At my first Dolpa, I brought my mom along, as she is a bit of a second hand collector (I collect, she enjoys them through me.) At the party, she made very sure to get an FCS girl, and discussed with me what sort of mold, hair, etc. to get. I was a bit surprised after the Dolpa to find out that she intended for me to have the girl, and once again, she would be enjoyed second hand.
I was pleased with her homemade prosthetics, but they barely functioned as decorative, let alone functional. The hook hand would not stay put,the wrist joint always flopped over it. Meanwhile, the fake foot just flopped around and was inadequate for standing upon. After a lot more careful thinking and research, I painted over her foot to make it look like a prosthetic, but it didn't look right and I wiped it down. I then drew scars on her left hand, reattached it, and put some scars on her shin and left knee. Much easier to work with, and she feels complete to me.
I called her Lilja, and tried to figure out what persona she would have. I figured that she should wear lots of jewelry and favor offbeat colors and styles. This did not really work out in execution, leaving me with a girl I didn't know what to make of.
Time went by, and I ended up purchasing a Volks lucky bag of MSD wigs. Included was a copper wig of braided pigtails that I plopped on Lilja that was rather becoming on her. I let it stay on.
A long while after that, I had a dream that featured a doll that was missing parts of three of her limbs. In the dream I could not figure out which part was the intact one. A couple of days later, I decided to recreate the dream doll, but bjds aren't cheap, and that one was tanned, meaning I would have a lot of saving ahead. Then I remembered that I had a girl who was not set in a particular back story or persona. Some prop purchasing and quick modification later, Lilja looked like this.
I was pleased with her homemade prosthetics, but they barely functioned as decorative, let alone functional. The hook hand would not stay put,the wrist joint always flopped over it. Meanwhile, the fake foot just flopped around and was inadequate for standing upon. After a lot more careful thinking and research, I painted over her foot to make it look like a prosthetic, but it didn't look right and I wiped it down. I then drew scars on her left hand, reattached it, and put some scars on her shin and left knee. Much easier to work with, and she feels complete to me.
Subscribe to:
Comments (Atom)


